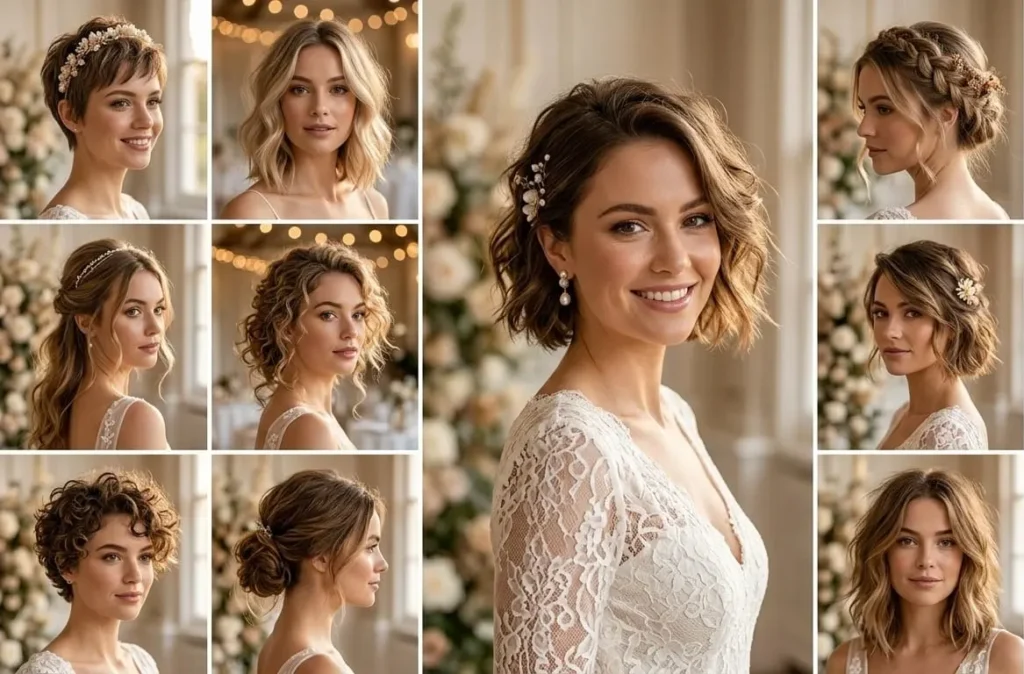
Short hair and wedding day don’t always feel like they belong in the same sentence. I remember doing my sister’s hair for her wedding — she had a chin-length bob and kept saying “I feel like everyone else gets the pretty updo and I just get… this.” She didn’t. We did a messy French twist with a few pearl pins, and by the end of the night three guests asked who did her hair.
That’s the thing about a messy short hairstyle for a wedding — it’s not a backup plan for women who “can’t grow their hair out in time.” It’s an actual style choice, and honestly, short hair holds texture better than long hair does in a lot of these looks. Below are 13 real styles, what each one needs, how long it takes, what it costs, and where to get the stuff.
Why Messy Works So Well on Short Hair
People hear “messy” and picture a bad hair day. That’s not what this is. A textured bridal hairstyle uses deliberate, controlled undone-ness — a few pins, some texturizing spray, a couple of loose pieces pulled out around the face. It looks relaxed. It photographs beautifully because it doesn’t look stiff or overworked. And short hair, weirdly, holds this kind of lived-in curl and texture longer than long hair does, because there’s less weight pulling it flat.
I’ve noticed this over and over doing hair for friends and family — the long-haired bridesmaids always needed a touch-up by hour three of the reception, while the short-haired ones barely moved. Less weight really does mean less drooping.
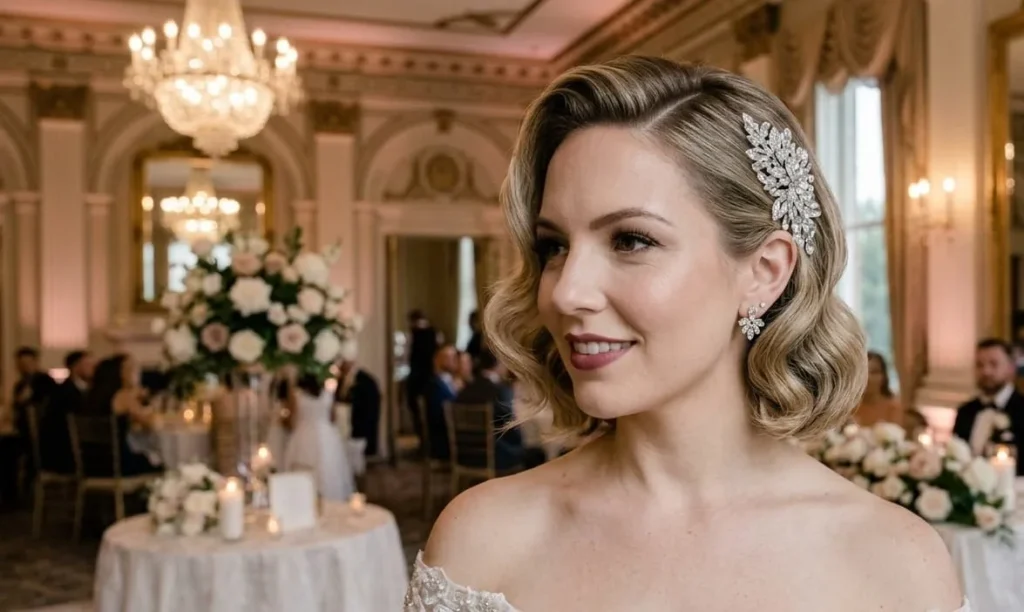
13 Messy Short Wedding Hairstyles — Full Guide
Each style below follows the same format, so you can scan it fast: best for, time, budget, what to buy, steps, pros and cons.
1. Classic Low Messy Bun
Best for: Bob or lob length, any hair texture, most venue types Time needed: 10–15 minutes Budget: DIY $10–20 in products / Salon $50–80 What to buy: A silk-lined hair tie (drugstore or Amazon), texturizing spray (Kristin Ess or Fekkai, Ulta/Sephora), bobby pins How to do it:
- Spray dry shampoo or texturizing spray through roots for grip.
- Gather hair into a low ponytail at the nape of your neck.
- Twist the ends around the base loosely — don’t pull tight.
- Pin with bobby pins, then tug a few pieces loose.
- Finish with a light mist of hairspray.
Pros:
- Takes under 15 minutes, even for a beginner
- Sits low enough to layer a veil comfortably over it
- Costs almost nothing — most of these products are already in your bathroom cabinet
Cons:
- Very short pixie cuts won’t have enough length to form a real bun
- Can loosen faster than a pinned updo if you’re dancing hard all night
- Looks too plain without at least one accessory or pulled-out face pieces
2. High Messy Bun / Topknot
Best for: Fine or thin hair that needs lift, casual or outdoor weddings Time needed: 10 minutes Budget: DIY $10–15 What to buy: Volumizing dry shampoo, thin elastic, U-pins How to do it:
- Flip your head upside down and gather hair at the crown.
- Secure a loose ponytail.
- Loop hair through the elastic halfway to form the bun (don’t pull all the way through).
- Pin loose ends flat, then loosen with your fingers.
Pros:
- Gives real lift to fine or thin hair that usually falls flat
- Keeps hair completely off your neck — great for warm outdoor venues
- One of the fastest styles on this list, around 10 minutes start to finish
Cons:
- Reads casual, so it needs a dressier accessory for formal weddings
- Sits high enough that it can pull slightly if your scalp is sensitive
- Not the most flattering option for round face shapes without face-framing pieces
3. Messy French Twist
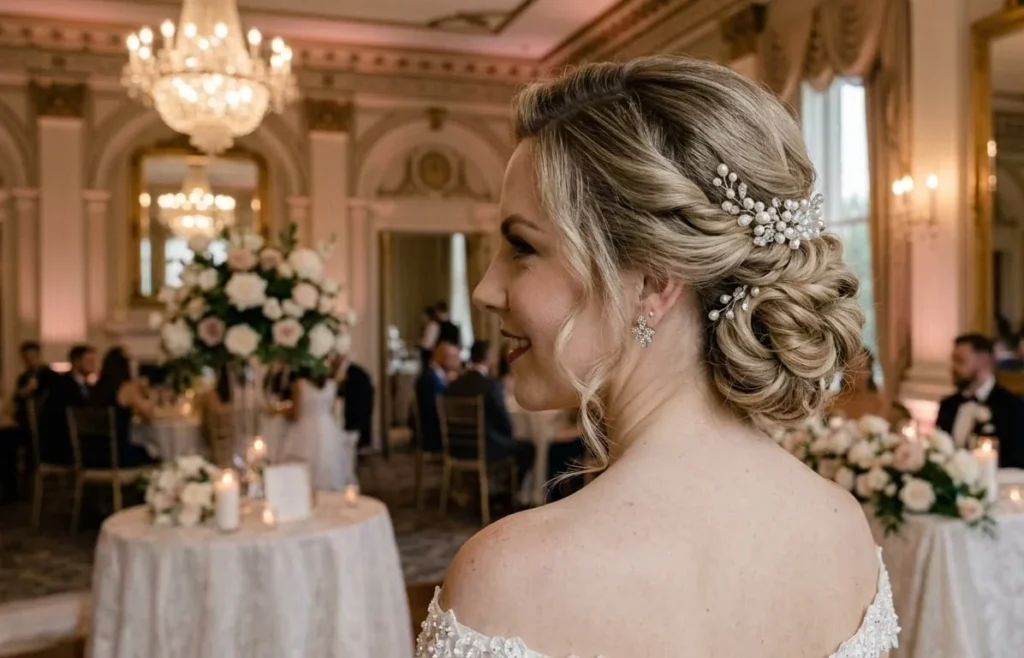
Best for: Chin-length to shoulder-length hair, classic or vintage-themed weddings Time needed: 15–20 minutes Budget: DIY $15 / Salon $60–90 What to buy: Smoothing serum, bobby pins, decorative hair pins (pearl or crystal, Etsy or Amazon) How to do it:
- Smooth hair back into a loose ponytail shape without tying it.
- Twist upward at the base, tucking hair into itself.
- Pin the twist securely along its length.
- Pull a few face-framing strands loose for softness.
- Add decorative pins along the twist.
Pros:
- Looks elegant and timeless in photos, ages well over the years
- Holds firmly through a full day of hugs, dancing, and a windy ceremony
- Pairs beautifully with pearl or crystal pins for a classic bridal look
Cons:
- Genuinely harder to DIY well on the first attempt — needs practice
- Can feel tight against the scalp if pinned too close to the head
- Not the easiest style for hair shorter than chin length to hold shape
This was the style my sister used for her own wedding, and we practiced it twice the week before — not the morning of. That one decision saved us a lot of stress.
Healthy braids start with healthy, well-moisturized hair. Before your next braiding session, explore our overnight hair treatment for very dry hair women to learn easy ways to deeply nourish dry hair overnight.
4. Messy Textured Bob Chignon
Best for: Straight bobs, low-maintenance brides Time needed: 10 minutes Budget: DIY $10 What to buy: Texturizing spray, small clear elastic, bobby pins How to do it:
- Add texture spray to dry hair.
- Gather what you can into a tiny low ponytail or twist.
- Pin flat sections down, let shorter layers fall loose around the neck.
Pros:
- Works on hair many people assume is “too short” for any updo
- Quick to do, around 10 minutes with no special tools
- Low cost, since it only needs a few basic products
Cons:
- Very short bobs will have a lot of loose, uncontrolled pieces
- Doesn’t hold as neatly through heavy dancing or humidity
- Limited styling options once it’s pinned — hard to adjust later in the day
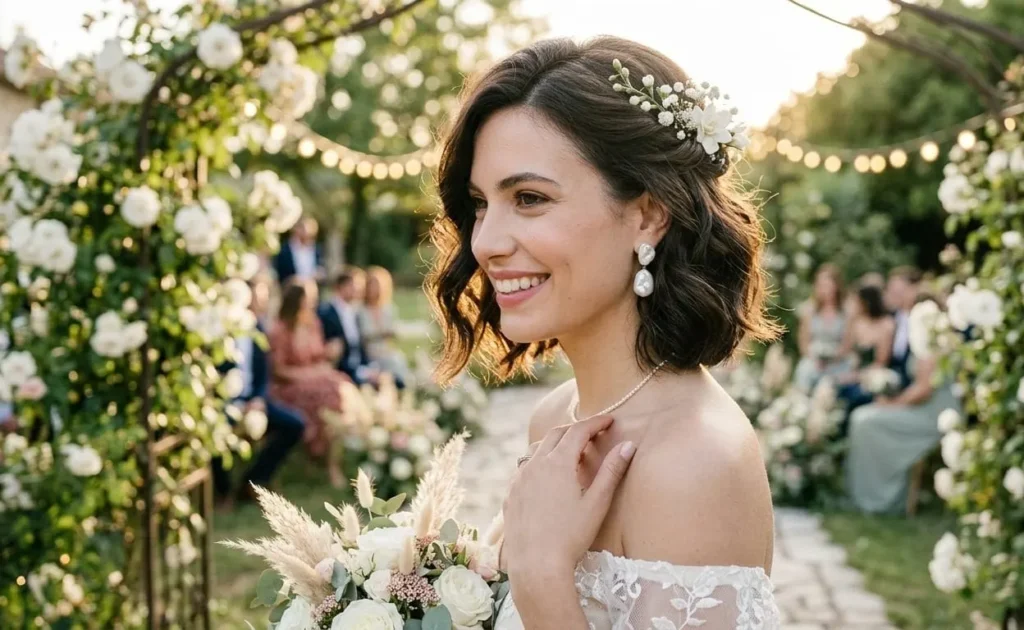
5. Half-Up Half-Down Messy Style
Best for: Brides who want hair down but off the face, any length above the chin Time needed: 10 minutes Budget: DIY $10–15 What to buy: Small elastic, texturizing paste, decorative clip How to do it:
- Curl the ends loosely with a wand or flat iron for texture.
- Take a section from each side, twist and pin at the back, or secure with a small elastic.
- Loosen with fingers for a soft, undone finish.
Pros:
- Gives you both — hair off your face but still down and soft
- Flatters almost every face shape thanks to the framing pieces
- Easy to touch up later in the day without redoing the whole style
Cons:
- Less secure overall than a full updo through a long reception
- Not ideal for very windy outdoor ceremonies
- Can slip out of place faster on freshly washed, slippery hair
6. Tousled Beachy Waves (Worn Down)
Best for: Beach, lakeside, or outdoor rustic weddings Time needed: 20–25 minutes Budget: DIY $20 (curling iron + spray) / Salon $70–100 What to buy: 1-inch curling wand, sea salt spray (Davines or Bumble and Bumble), light-hold hairspray How to do it:
- Curl small sections, alternating direction for an irregular wave.
- Run fingers through curls to loosen — never brush them out.
- Spray sea salt texturizer at mid-lengths and ends.
Pros:
- Feels genuinely effortless and matches relaxed dress codes
- Suits nearly every hair texture with minimal adjustment
- No pins or updo needed, so there’s nothing to loosen or slip
Cons:
- Won’t hold shape as long in humid or beach conditions without strong-hold spray
- Repeated heat styling on curls can add up to real damage over time
- Offers less of a “bridal” formal look compared to an updo
7. Messy Braided Crown / Boho Braid
Best for: Boho or rustic-themed weddings, any length long enough for a small braid Time needed: 15–20 minutes Budget: DIY $15 / Salon $60 What to buy: Small clear elastics, flower or feather hair clips (Etsy) How to do it:
- Section hair from each side above the ear.
- French braid or twist toward the back, securing at the nape.
- Pull the braid apart gently to widen it and look looser.
- Tuck in flowers or clips along the braid.
Pros:
- Adds a romantic, natural detail that photographs beautifully close-up
- Works well with flower or feather accessories for boho themes
- Keeps hair off the face without a heavy, formal updo feel
Cons:
- Needs enough length near the temples — very short pixies can’t manage it
- Small braids can take real practice to get looking loose instead of tight
- Flowers or clips tucked into the braid can shift loose during a long day
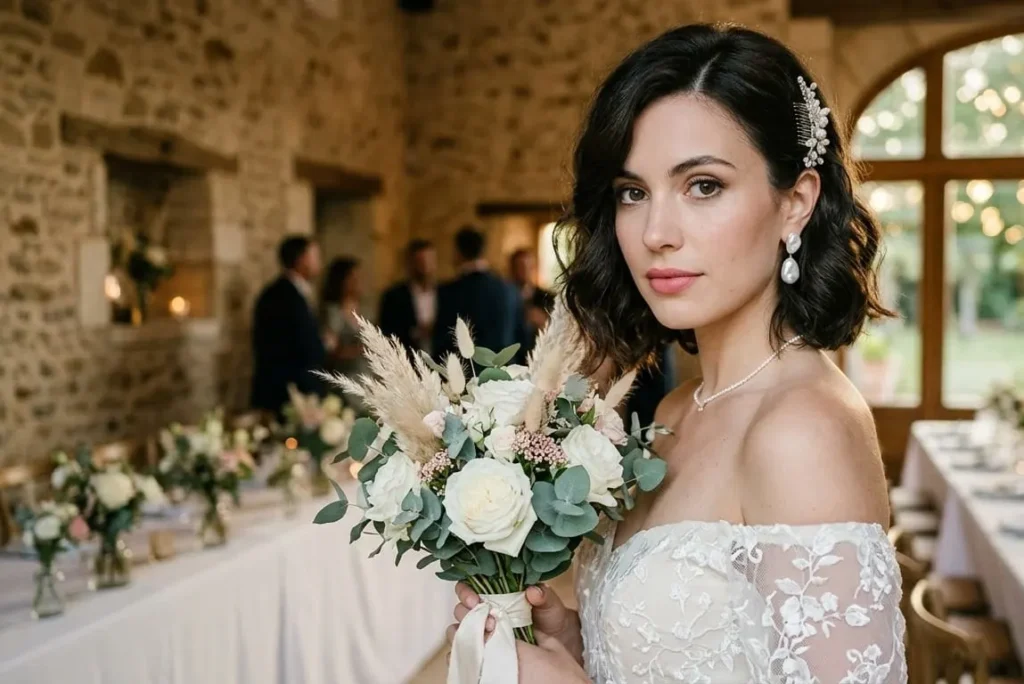
8. Textured Pixie with Accessories
Best for: Pixie cuts, brides who want a bold, no-fuss look Time needed: 5–10 minutes Budget: DIY $10 What to buy: Matte texturizing paste, small crystal or floral hair clips How to do it:
- Work a small amount of paste through dry hair with fingers.
- Push hair in different directions for a piecey texture.
- Add a clip or headband as the statement piece.
Pros:
- The fastest style on this entire list, often under 10 minutes
- Cheapest option by far, needing only paste and a clip
- Zero risk of an updo unraveling since there’s nothing to pin
Cons:
- Less of a traditional “bridal updo” feel for classic weddings
- Limited ability to add height or volume compared to longer styles
- Fewer accessory options since there’s less hair to attach things to
9. Messy Fishtail Braid Updo
Best for: Shoulder-length hair, boho or garden weddings Time needed: 20 minutes Budget: DIY $15 / Salon $65 What to buy: Fine-tooth comb, bobby pins, hairspray How to do it:
- Braid a loose fishtail down one side.
- Pull the braid strands apart to widen and soften it.
- Wrap the tail into a small bun and pin.
Pros:
- Detailed enough to feel special without looking overdone
- Holds securely through dancing once it’s pinned into the bun
- Suits both boho and slightly more formal garden weddings
Cons:
- Takes more practice than a basic bun — plan a trial run beforehand
- Harder to redo quickly if it starts loosening mid-event
- Fine hair can make the fishtail pattern harder to see clearly
Looking for another quick hairstyle that works for school, parties, or weekends? Browse our Half-Up Half-Down Haircut Ideas for simple, stylish looks that pair beautifully with braids.
10. Swept-Back S-Wave Textured Style
Best for: Chin to shoulder-length hair, vintage or formal weddings Time needed: 15 minutes Budget: DIY $20 (flat iron) / Salon $70 What to buy: Flat iron, smoothing cream, hair clips for setting waves How to do it:
- Create S-shaped waves with a flat iron, alternating direction.
- Comb one side behind the ear, pin lightly.
- Leave the other side loose and swept.
Pros:
- Strikes a nice balance between polished and soft, good for formal venues
- Works especially well with vintage-style dresses and headpieces
- Sweeps hair off one side of the face for great side-profile photos
Cons:
- Requires real heat-styling skill — this is not a beginner-friendly style
- Heat damage risk is higher here than in most no-heat styles on this list
- One-sided styles can look uneven if the waves aren’t set evenly
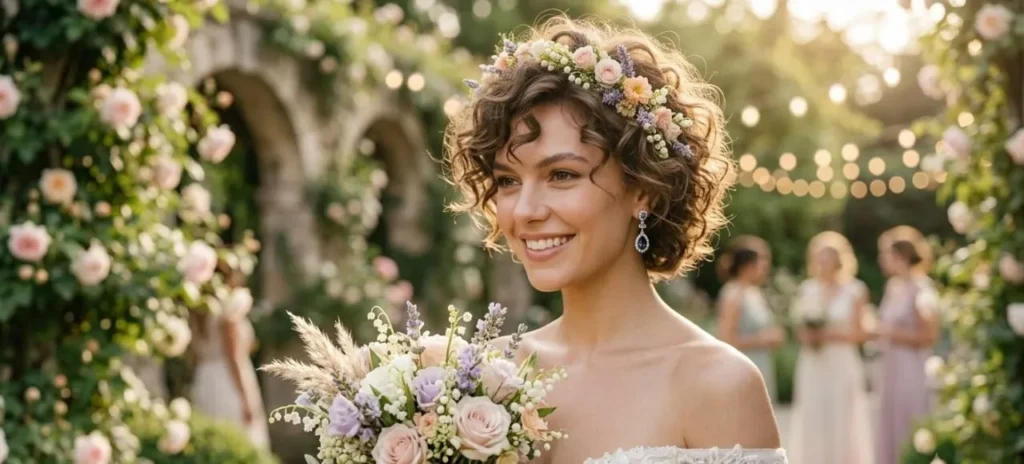
11. Curly Bixie Messy Style
Best for: Natural curls or coils, any bixie/pixie-bob hybrid length Time needed: 10 minutes Budget: DIY $15 What to buy: Curl-defining gel or cream, no brush (fingers only) How to do it:
- Apply curl cream to damp or dry hair.
- Scrunch curls upward with hands — skip the brush entirely.
- Pull a few curls forward to frame the face.
Pros:
- Works with your natural curl pattern instead of fighting it
- Very low product cost since it skips heat tools entirely
- Reduces heat damage risk compared to styles that need a curling iron
Cons:
- Humidity can add extra, unplanned volume on hot or outdoor wedding days
- Harder to predict the exact final shape compared to heat-styled looks
- Needs the right curl cream — the wrong product can leave hair crunchy
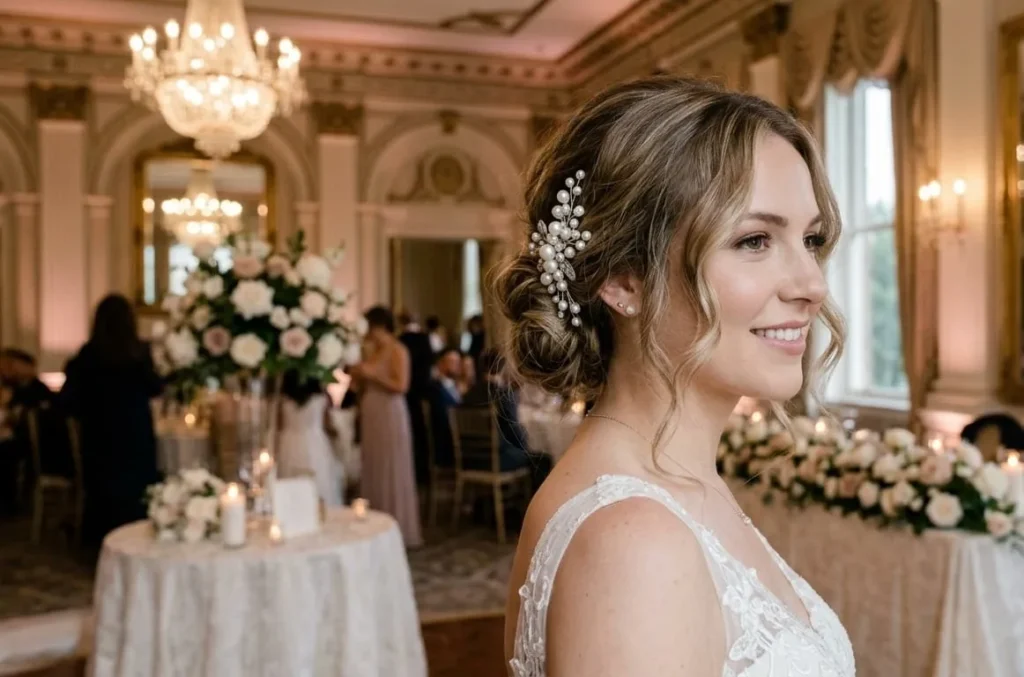
12. Messy Bun with Clip-In Extensions
Best for: Brides with very short hair who want a fuller bun Time needed: 20–25 minutes Budget: DIY $30–60 (extensions) + $10 styling / Salon $90–120 What to buy: 4–6 inch clip-in wefts matched to your hair color (Luxy Hair, Amazon, or a local extension bar) How to do it:
- Clip in one or two wefts at the crown, hidden under the top layer.
- Gather all hair, including the wefts, into a low or high bun.
- Twist and pin, then loosen for texture.
Pros:
- Gives you a full, dramatic bun even with very short natural hair
- Adds volume and length options that no other style on this list offers
- Extensions can be reused for the honeymoon or future events
Cons:
- The most expensive style here once you factor in the extensions
- Clips can feel tight or noticeable if your own hair is thin
- Needs a test run the week before, not the morning of the wedding
Ready for even more fresh hairstyle inspiration? Explore our Trendy Haircuts for Teenage Girls 2026 to discover stylish, low-maintenance looks that are perfect for school, weekends, and special occasions.
13. Messy Space-Bun Updo
Best for: Modern, non-traditional weddings, wedding guests wanting something different Time needed: 10 minutes Budget: DIY $10 What to buy: Two small elastics, texturizing spray How to do it:
- Part hair down the middle into two even sections.
- Twist or loop each section into a small bun.
- Pull pieces loose from each bun for a softer, less “costume-y” finish.
Pros:
- Fun and distinctive, stands out in a good way for guests or bridesmaids
- Cheapest and quickest style on the whole list, around 10 minutes
- Easy to make more subtle by pulling out fewer pieces from each bun
Cons:
- Reads casual and modern — not the right pick for a formal ballroom wedding
- Can look uneven if the two sections aren’t parted symmetrically
- Less traditional, so it may not suit brides wanting a classic bridal look
Table 1 — Quick Comparison
| Style | Hair Length Needed | Time | DIY Budget | Veil-Friendly |
| Low Messy Bun | Bob/lob | 10–15 min | $10–20 | Yes |
| High Messy Bun | Bob and up | 10 min | $10–15 | Yes |
| Messy French Twist | Chin to shoulder | 15–20 min | $15 | Yes |
| Textured Bob Chignon | Straight bob | 10 min | $10 | Partial |
| Half-Up Half-Down | Chin and up | 10 min | $10–15 | Yes |
| Beachy Waves (down) | Any short length | 20–25 min | $20 | Partial |
| Boho Braided Crown | Shoulder length | 15–20 min | $15 | Partial |
| Textured Pixie | Pixie | 5–10 min | $10 | No |
| Fishtail Braid Updo | Shoulder length | 20 min | $15 | Yes |
| S-Wave Swept Back | Chin to shoulder | 15 min | $20 | Yes |
| Curly Bixie | Natural curls | 10 min | $15 | Partial |
| Bun with Extensions | Any (very short too) | 20–25 min | $30–60 | Yes |
| Space-Bun Updo | Shoulder length | 10 min | $10 | No |
Pros and Cons of Going Messy for Your Wedding
Table 2 — Overall Pros and Cons
| Pros | Cons |
| Cheaper than elaborate long-hair updos | Some styles need practice runs beforehand |
| Forgiving of small imperfections | Very formal weddings may call for a sleeker look |
| Comfortable to wear all day and into the reception | Certain styles need decent length — not all pixies qualify |
| Photographs naturally, no stiff “helmet hair” look | Humidity can loosen styles faster if unset |
Which Messy Hairstyle Should YOU Choose?
Start with your venue and dress, not the style you saw on Pinterest last week. A beach wedding and a cathedral wedding call for different energy, even if both are “short hair” and both are “messy.”
Table 3 — Venue and Style Match
| Venue / Dress Style | Recommended Style |
| Beach or lakeside | Tousled Beachy Waves, Curly Bixie |
| Garden or rustic barn | Boho Braided Crown, Fishtail Braid Updo |
| Formal church or ballroom | Messy French Twist, S-Wave Swept Back |
| Casual backyard | Low Messy Bun, High Messy Bun |
| Modern/non-traditional | Space-Bun Updo, Textured Pixie |
| Very short hair, wants fuller look | Bun with Clip-In Extensions |
Hair Type Adjustments
Fine hair needs volume first — reach for a volumizing dry shampoo before anything else, or the bun will look flat and small. Thick hair usually holds shape well on its own; skip heavy products so it doesn’t feel weighed down. Curly or coily hair does best left alone — fingers only, no brush, or you’ll lose the texture that makes it “messy” in the first place. Straight hair often needs help gripping — a texturizing spray or paste gives pins something to hold onto.
Age-Specific Recommendations
In your 20s, bolder and more undone styles (space buns, boho braids) tend to feel natural. In your 30s and 40s, a slightly more polished version of messy — think the French twist or S-wave — usually strikes the right balance. Past 50, softer texture with less severe “undone” pieces tends to photograph and feel more comfortable; the beachy wave or a simple low bun with gentle texture works well here.
Safety and Hair Health — Avoiding Styling Damage
A lot of women worry that heat tools and tight pins on wedding day will wreck their hair. Fair concern. A heat protectant spray before curling or flat-ironing cuts damage significantly — don’t skip this step even if you’re in a rush. Pin gently, not tightly; tight pinning near the scalp for 8+ hours can cause breakage and tension headaches by the end of the night. If you’re using clip-in extensions, make sure the clips sit on a section of hair thick enough to bear the weight — thin sections can snap under a full day of wear.
Mistakes to Avoid
- Trying a brand-new style for the first time on the actual wedding morning
- Using the wrong hair tie — thick elastic bands cause dents and breakage
- Over-teasing hair until it looks matted instead of textured
- Skipping a heat protectant when curling or straightening
- Not testing how the style holds under a veil, if you’re wearing one
The teasing one trips people up more than anything else on this list. I’ve watched brides tease their crown section way past what the style needed, thinking more volume equals more “done.” It just ends up looking stiff and hard to smooth out later. A little teasing goes further than you’d think — you can always add more, but you can’t easily undo it once it’s matted down.
Washing and Prepping Hair Before the Big Day
Day-old or second-day hair holds a messy style far better than fresh-washed hair, which tends to be too soft and slippery for pins to grip. If you can, wash your hair the evening before, not the morning of. If your roots look oily by morning, a light dusting of dry shampoo fixes that without a full rewash.
I learned this one the hard way with a bridesmaid who washed her hair the morning of the wedding because she “wanted it to look fresh.” By the ceremony, her bun had already started sliding out — freshly washed hair just has nothing for pins to hold onto. Now I tell everyone the same thing: wash the night before, and let your natural oils do some of the work for you.
Seasonal Advice
Summer and beach weddings mean humidity, so budget for a stronger-hold hairspray and expect some extra volume from curly or wavy textures. Winter weddings bring static and dryness — a small amount of smoothing serum on your palms, run lightly over the surface, keeps flyaways under control. Spring and fall are the easiest seasons to work with, and floral accessories tend to suit both.
A friend of mine got married on a beach in July and skipped the strong-hold spray because she didn’t want stiff hair in photos. By the reception, her waves had turned into one big frizzy halo — not a disaster, just not what she’d planned. A stronger hold doesn’t have to mean stiff. It just means the style survives the humidity instead of fighting it all night.
Overall Budget Guide — Cost, Products, and Where to Buy
Table 4 — Cost Breakdown
| Item / Service | Approx. Cost | Where to Buy | DIY or Salon |
| Texturizing spray | $12–25 | Ulta, Sephora, Amazon | DIY |
| Dry shampoo | $8–15 | Drugstore, Target | DIY |
| Bobby pins / U-pins | $5–10 | Drugstore, Amazon | DIY |
| Decorative hair pins/clips | $10–30 | Etsy, Amazon | DIY |
| Clip-in extensions (4–6 in) | $30–80 | Luxy Hair, Amazon, extension bar | DIY or Salon |
| Professional bridal styling | $50–150 | Local salon | Salon |
| Heat protectant spray | $10–20 | Drugstore, Sephora | DIY |
If you’re doing it yourself, most of these 13 styles cost under $25 total in products. Salon styling runs $50–150 depending on your area and how detailed the style is.
The Takeaway
Short hair on a wedding day isn’t a limitation — it just needs a different playbook than the long-hair updos flooding your Pinterest board. Pick the style that matches your venue, give it one practice run before the actual day, and let it be a little undone. That’s the whole point.